
Final Editing: 3
by emilymorter
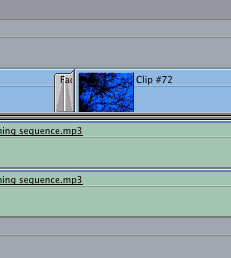
Fade out at the end of title.
The transition from the titles to the shots was too rigid and clear so I decided to use a fade-out on every title. Although it created a smoother effect, it cut some shots out before the the title was fully on screen. So I changed the timings of all shots, creating gaps in which the fades would fit without shortening other shots. This made the titles longer than expected and may later need changing if the timing is longer than two minutes.
I deleted all the sounds from the shots as I recorded a two minute shot of the forest and would have a continuous sound feature. But it was too loud in certain places. I had to lower the sound of this before I could layer the other sounds.

Lowering the pan level on the audio.
I encountered a problem when putting two sections of audio together. It needed to be a smooth blend and this requires faded the first audio and raising the volume on the second. Getting the right ratio took quite a while. I experimented with using audio transitions in the effect menu but I needed a smooth transition and most effects manipulated the sound to create an obvious change.

Blending two audios together.
I spent a lot of time cutting the audio and matching the shots. It is important not to have gaps as it is quite noticeable. After attaching lots of shots together I need to zoom in and ensure they’re all connected. Every shot added needs to be cut at the right moment. Some shot may be 10 seconds long but only 3 seconds is needed. I decided to edit the timings of the all shots before I added them in, in the hope that it would save time.

Editing the length of a shot.
