EmilyMorter

Month: January, 2015

Final Edit Focus Group

For my first edit I filmed a focus group to gain feedback however the focus group weren’t serious and It wasn’t that useful. But I still took comments from the interview. Now that I have completed my opening sequence, I’ve decided to use another focus group of an older audience to see their views on the final edit. I would have used the same members but I thought an older, more mature audience would give more detailed answer. Again I used both genders of audience.

The quality isn’t great as I filmed this on my iPhone but the audio is clear enough.

Final Edit

This is my final edit of an opening sequence.

I’m pleased with the progress made from my first edit. I was able to re-film and obtain higher quality footage. I also improved the audio and embedded some experimental sound effects. Although I still can see where improvements are needed I’m overall pleased with ‘Within’.

Final Editing: 8

In my first edit evaluation one of my criticism was to layer in sound effects. I wanted to use suitable yet creepy sound effects. I used a police siren during the end of the opening sequence to correct suspense. This was obtain from ‘SoundBible’. 

new-header

This was only one sound effect and I wanted to have lots of layered sound effects.

This clip is of the opening sequence into the Harry potter films, ‘the goblet of fire’. At the end of the clip is a kettle boiling. Its sound if in-sync with the climatic build and creates suspense. I wanted to include something similar to this in my opening sequence.

This would be an experimental sound effect because in the film the audience could see the kettle whereas in ‘Within’ there wouldn’t actually be a kettle seen but the sound may be recognisable. I decided to include this sound despite the faults as I feel could add the need suspenseful effect near the end of my opening sequence. I will layer into the opening sequence just after Siobhan says ‘I was starting to hear things’.

Final Editing: 7

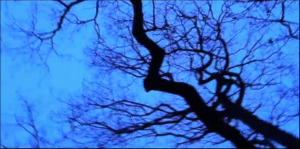
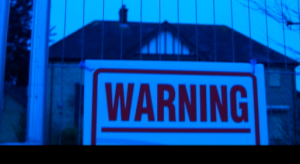
I decided after editing my titles into place that I would add a blue filter onto the locational shots to make the beginning section or my opening sequence more interesting.

Screen Shot 2015-02-01 at 11.40.00

Blue filtered shot

I felt this effect worked well and created a gloomy yet eerie vibe to my shots. Hence, why I decided to add the filter to my other shots of the characters as well.

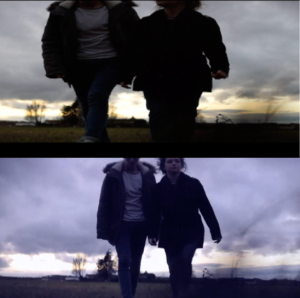
Screen Shot 2015-02-01 at 11.47.44Screen Shot 2015-02-01 at 11.47.52


The difference and effect created is incredible clear. I used the same amount of visibility on the filter’s control. – 13 %

Too much filter could look fake and the effect would be lost.

Final Editing: 6

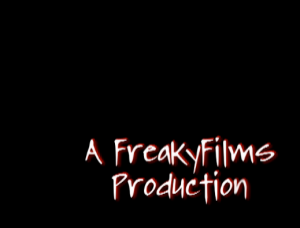
After much deliberation I decided to change my font again. This new font is basic with no colour and extortion. I still wanted to have a contrast so I decided the writing would be white. I decided to look back at my initial research and compared my title’s decision to ‘The conjuring’, I can now see how similar my latest title is to ‘The conjuring’. Hopefully this will be mean my final choice is the clearly the better choice.

The_Conjuring


Only difference being the actual font and colour choice. Yet both have a elegant font choice and contrasting foreground and background colours.

Picture 1

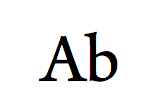
The font ‘Arno Pro’.

This title is more professional and looks eerie the titles fade in from black.

Picture 2

This is the new font, all titles are exactly 13cm and last 4 seconds. This is my final time for editing the titles. Certain titles change dramatically from scene so I added fade outs to make the changes less sharp.

Final Editing: 5

Some of my clips went offline as I exported them straight off my camera into ‘FinalCut’ instead of putting them in a file then exported them. It would have been simple to relocate them but I deleted them. Eventually after reconnecting the trash then relocated them in a new folder, I exported them and replaced the media offline shots.

Picture 17

Media offline shots.

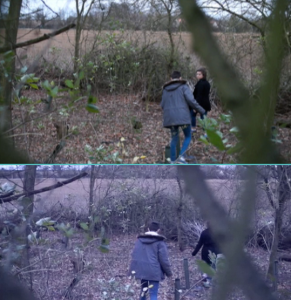
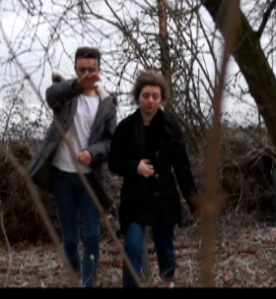
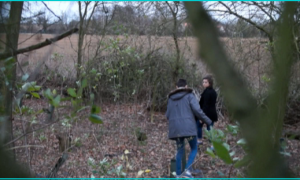
I decided once I’d reconnected the offline shots to work on my continuity techniques but thats when I noticed a few continuity issues. First of all there is a low angle shot of Josh and Siobhan walking in the forest. At Siobhan is on the right and Josh is on the left.

Picture 19

In the next shot they’re walking back to the forest entrance, they’re positioning isn’t wrong but its quite obvious that they’re in different sections of the woods from the two different shots.

Picture 20Then they’re suddenly walking the other way. It is clear to me that they’ve changed directions multiple ways, if the audience notice this then it will be clear they’re not standing on the right sides either. I hoping that once edited with a voice over it won’t seem as disjointed.

Picture 21

Final Editing: 4

In my first edit, timing was an issue. It was short by at least 30 seconds. I recorded a lot more shots than I did last time so I presumed my timing would be fine but it was again shot. So I added more titles. Such as:

  • Costume Design
  • Makeup Artist
  • Prop Designer
  • Casting Director
Picture 13

Costume design title.

The names weren’t as creative as they could be; Most surnames rhymed with mop and the first name was always three letters long as I didn’t want the name to be too long and take up space. I picked titles which are conventional to my genre.

After adding extra titles, I needed extra shots so I used shots which weren’t originally exported into final cut. For example the picture below wasn’t used in the first edit and wasn’t planned for the final edit yet it can fit in the narrative, creating enigma codes whilst foreshadowing the danger. It the final shot before the action officially happens and the titles end. A voice over will be used over the top and narrate what about the shots on screen.

Picture 16

An additional shot.

Now all the titles have been edited and almost perfected, I only needed to add the main shots with the characters. I originally planned to have a minute for titles and the last minute fully of the the other shots. However the pace is too quick and too much happens with an opening sequence, it appeared like a trailer. When all titles were added it came to 1:18 seconds which is ideal.

Picture 15

Timing of opening sequence.


Final Editing: 3


Picture 8

Fade out at the end of title.

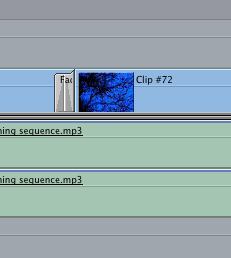
The transition from the titles to the shots was too rigid and clear so I decided to use a fade-out on every title. Although it created a smoother effect, it cut some shots out before the the title was fully on screen. So I changed the timings of all shots, creating gaps in which the fades would fit without shortening other shots. This made the titles longer than expected and may later need changing if the timing is longer than two minutes.

I deleted all the sounds from the shots as I recorded a two minute shot of the forest and would have a continuous sound feature. But it was too loud in certain places. I had to lower the sound of this before I could layer the other sounds.
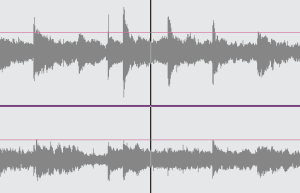
Picture 9

Lowering the pan level on the audio.

I encountered a problem when putting two sections of audio together. It needed to be a smooth blend and this requires faded the first audio and raising the volume on the second. Getting the right ratio took quite a while. I experimented with using audio transitions in the effect menu but I needed a smooth transition and most effects manipulated the sound to create an obvious change.
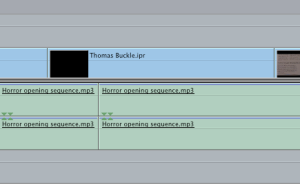
Picture 10

Blending two audios together.

I spent a lot of time cutting the audio and matching the shots. It is important not to have gaps as it is quite noticeable. After attaching lots of shots together I need to zoom in and ensure they’re all connected. Every shot added needs to be cut at the right moment. Some shot may be 10 seconds long but only 3 seconds is needed. I decided to edit the timings of the all shots before I added them in, in the hope that it would save time.
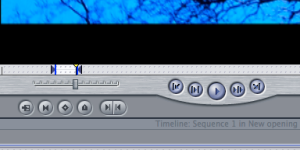
Picture 12

Editing the length of a shot.
 

Final Editing: 2

Picture 6

First title of opening sequence in the bottom right corner.

Continuing chronically, I worked on titles. After brief feedback I decided to focus on current titles. I decided to change the positioning of the titles. Originally they were in the centre of a black screen but I wanted them to be in a sequence of bottom right corner, top left, bottom left and then top right.  I also changed the size of font to make it more professional and conventional. The main title however is the same as before. Once the sequence is fully made if they still don’t look professional, I will change the font.

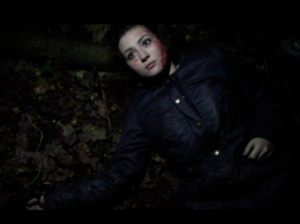
Once I’d done one title I needed to involve the shot after it. I wanted the shots to either be of location or after the teenagers have been killed to create enigma codes. Some shots I used in my first edit such as Siobhan dead and Josh hanging as the shots are darker and the audience can see that its later on in the film.

Picture 7

An old shot of Siobhan dead being used in the final edit.

Finding the right ratio of timings for title and shot was difficult, neither could be too long or too short. Most of the shots I modified the speed and reduced to 50% which increases the time of shots.

Final Editing: 1

After re-filming everything during the christmas break, I need to start on final cut and re-add my titles and include the new shots.

live2btypeI started my making additional titles on ‘LiveType‘, which were suited my genre. These included: costume designer, makeup artist and casting director. In my first edit some of the title went past too quickly and the audience couldn’t read them. I amended the time of the transition and added to ‘FinalCut‘.

Unknown

Finalcut logo

Once the titles were added I started arranging shots in the order I wanted them in. I started with Zia’s face and the main title. I feel if it is at the beginning it looks less like a trailer. I also layered the audio behind the laughing and used a scary ambiance whilst having her laugh.

Picture 4

Once this was done I needed to add some locational shots, establishing shots, arc shots of the trees etc. These shots are integrated with the titles. I removed all sounds from the recorded shots as I will later add the two minute long recorded sound. This took up roughly around a minute worth of time.

Picture 3